Cleaning household surfaces is always a pain in the neck, especially when dealing with stubborn stains and grime. For that reason, we have decided to put together this comprehensive guide with the most updated advice on cleaning numerous items and surfaces in your home, so you live in a clean and healthy environment. Without adding another word, let’s get down to business right now!
HOW TO CLEAN:
1. Acrylic & Glass Surfaces
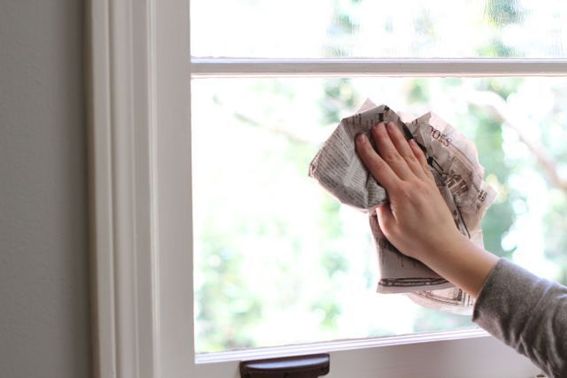 First dust the surface with a damp, clean cloth and wipe with gentle moves. This will help you cut down on friction and hold the dust as the damp cloth reduces static electricity. Then, using a clean sponge or a soft cloth (to avoid scratches) wash the surface with:
- Water & Mild Detergent solution (acrylic)
- Water/Glass Cleaner & Ammonia solution (glass)
Rinse with a new, clean, damp cloth and dry with a soft cloth. Alternatively, you could use newspaper to clean your glass surfaces!
2. Appliance Surfaces
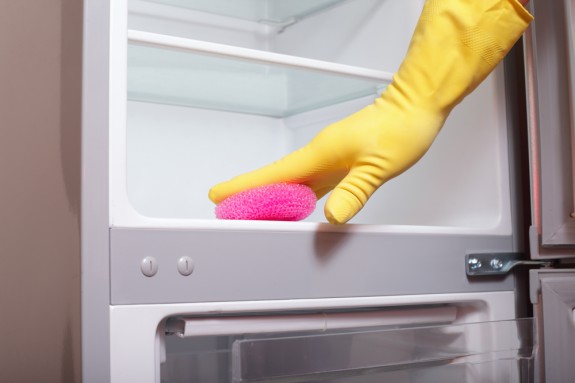 Use all-purpose cleaners (nonabrasive), either liquid or powder. You can use the liquids’ full strength and apply or opt for mixing with water. Always follow the directions on the packages of the cleaners you buy. Generally, you won’t have to rinse unless you have used full strength or no-wax floors.
3. Baked-on Food
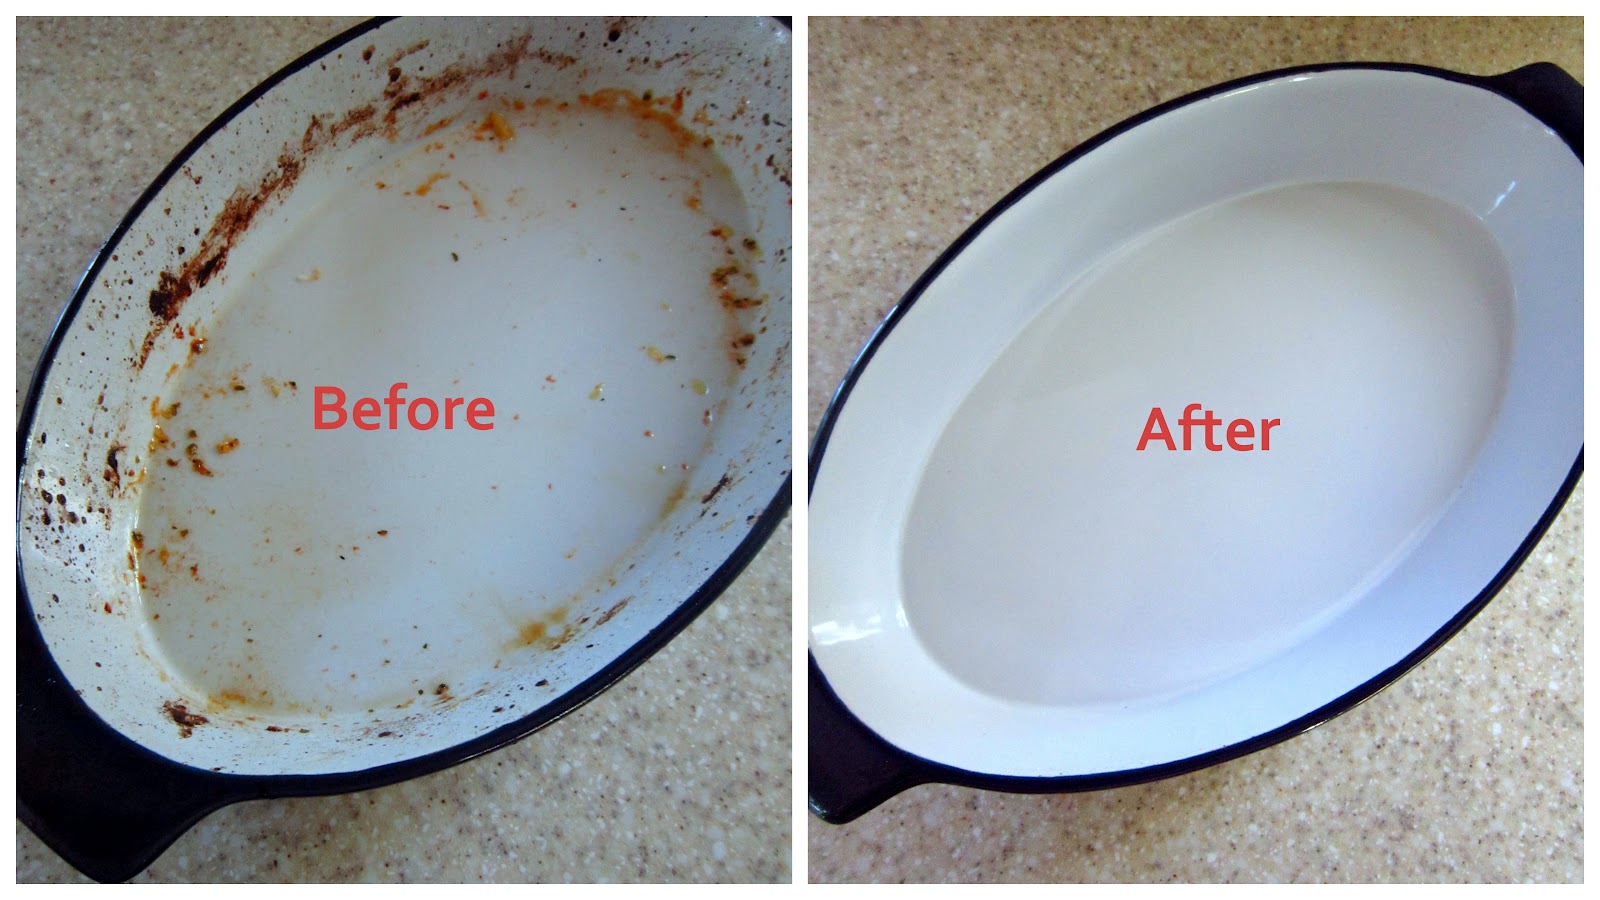 To help go through this task, you’ll need baking soda. Use 3 parts of it to 1 part water, to make a paste. Alternatively, you can mix 4 tablespoons of baking soda per 1-quart water and make a solution. Just wet the surface and apply the cleaner. Rub gently and then rinse.
However, you can also sprinkle baking soda straight from the box and then rub with ta damp cloth or sponge before you rinse and dry.
4. Barbecue Grills
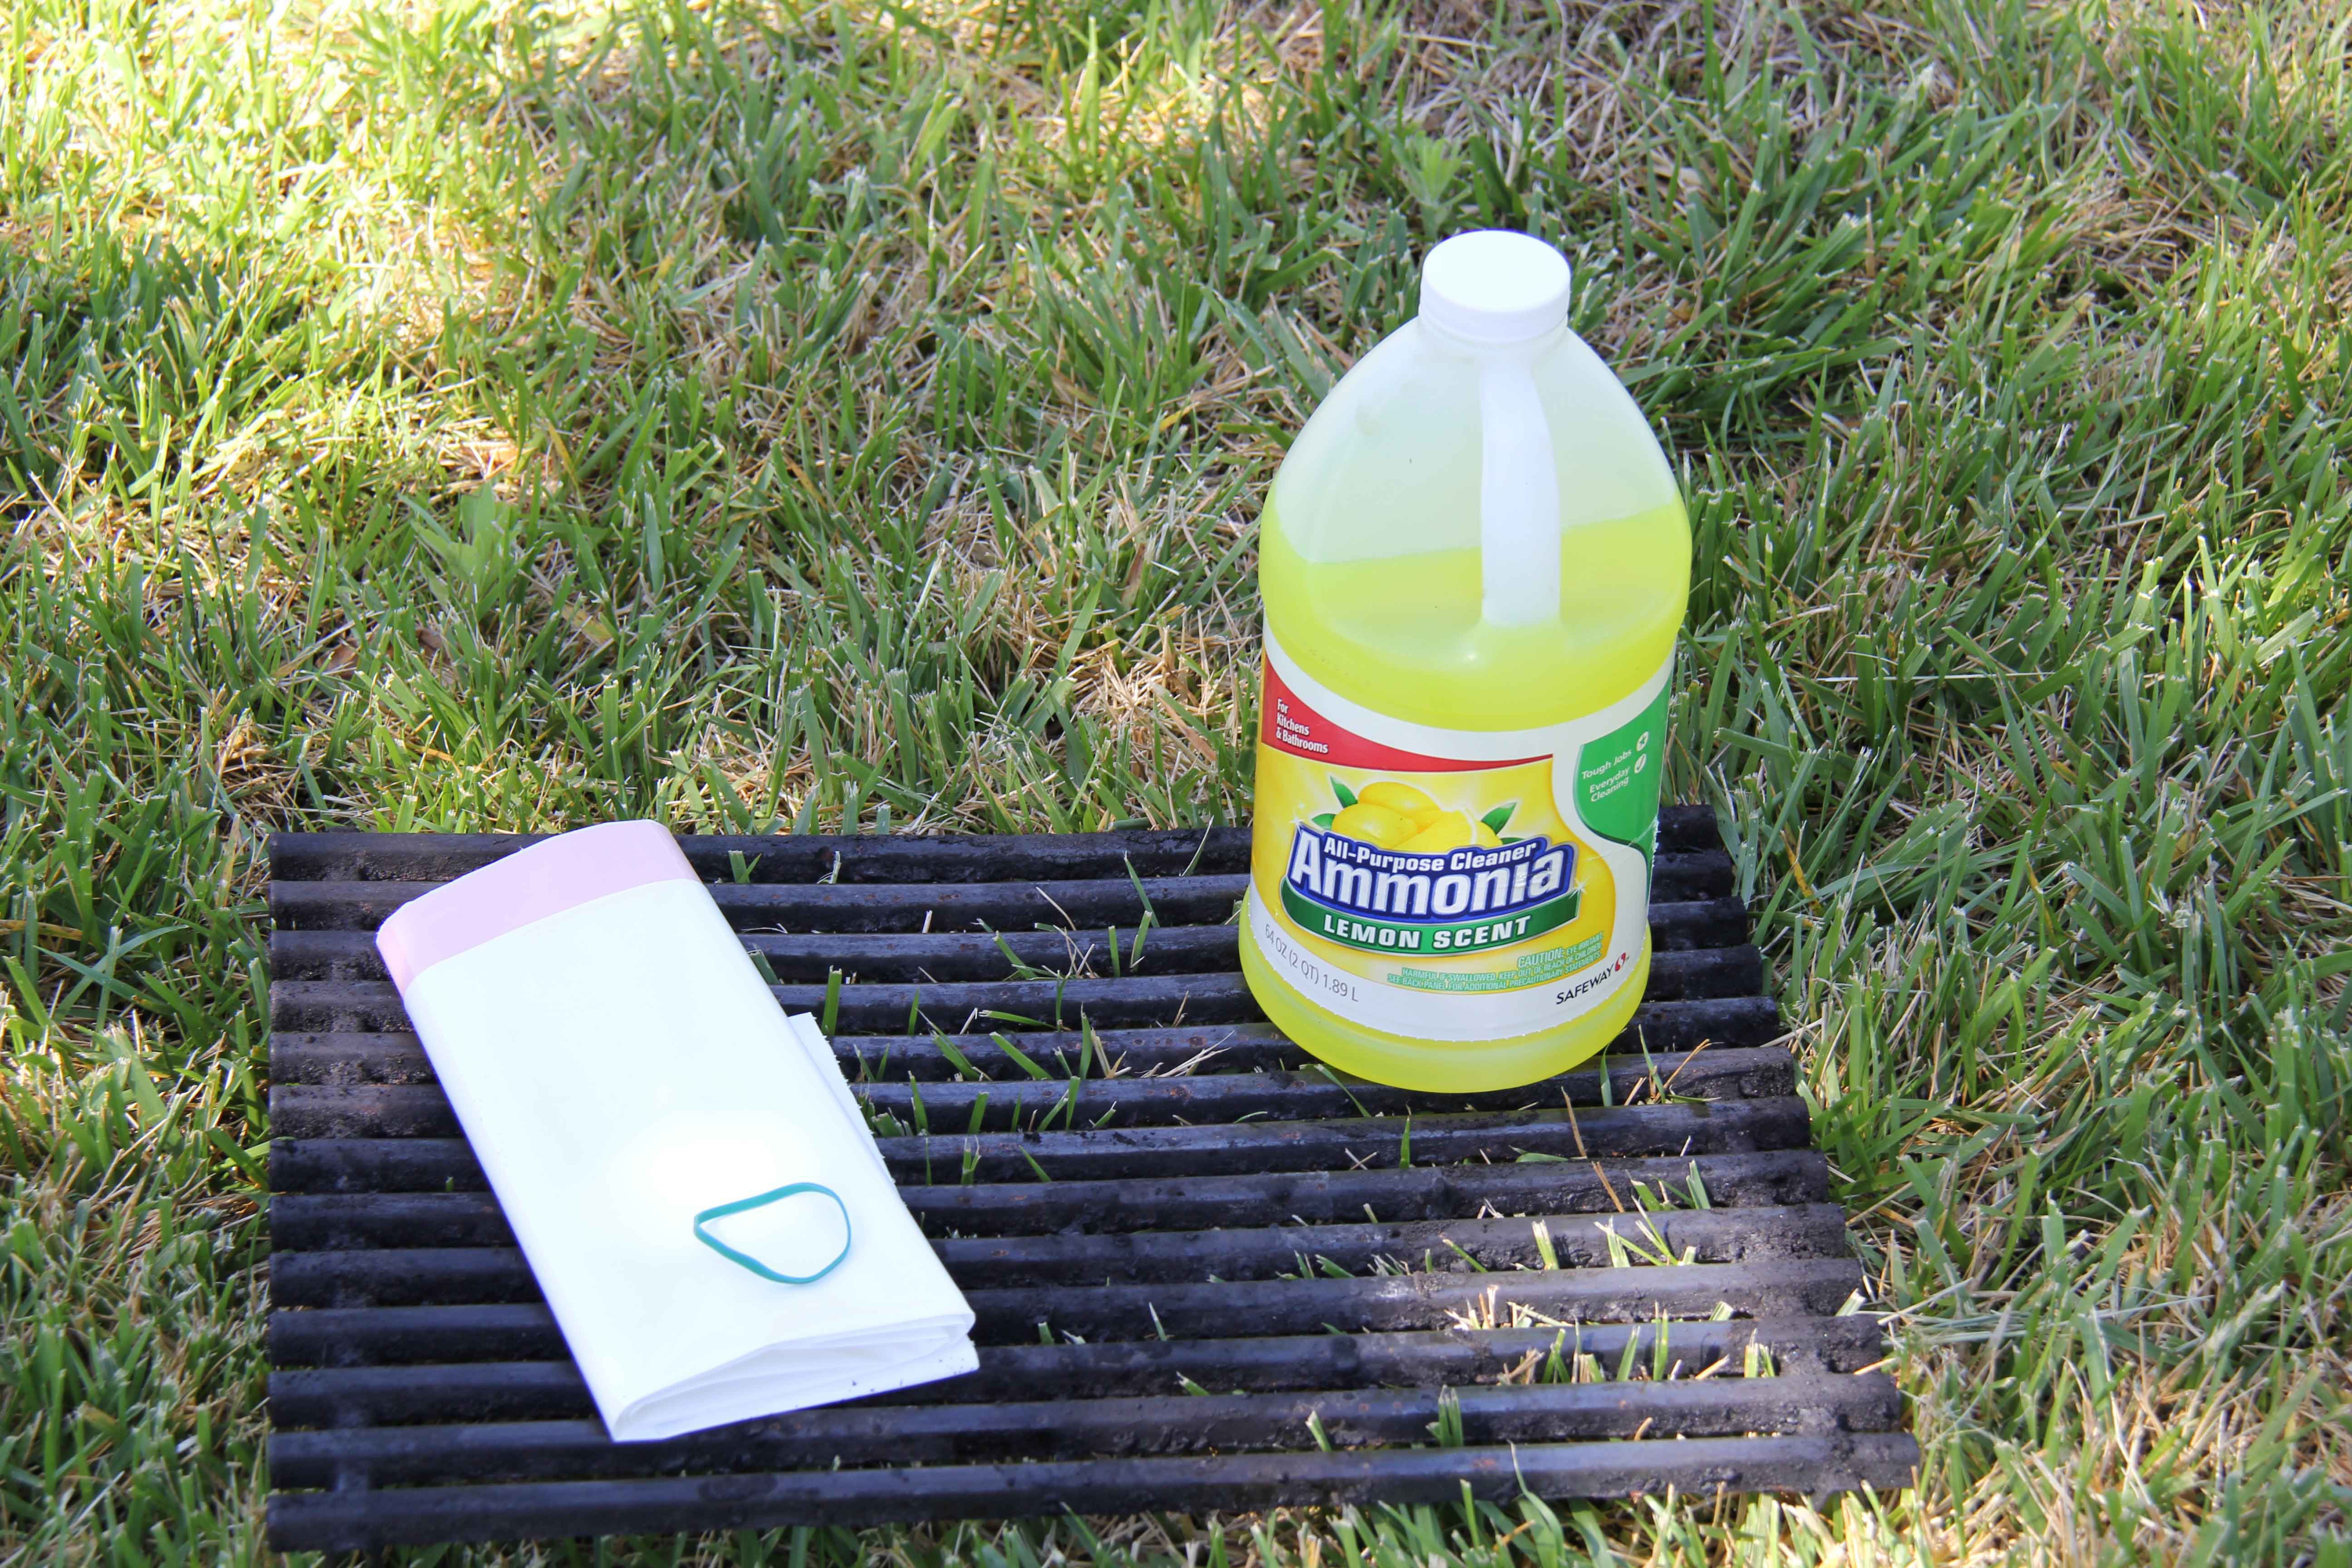 Although having BBQs is great, the racks are a total mess at the end of the season. To clean them, all you need to have is an oven cleaner. Alternatively, you can soak the racks in a solution made from water and ammonia. Scrub and rinse and voila.
Note: Always follow the manufacturer’s directions is you have a gas-fueled grill.
Tip: To clean permanent briquettes, remember to flip them from time to time and ignite the grill. Keep the cover closed and allow it to burn for about 12-15 minutes at high setting.
5. Cast Iron
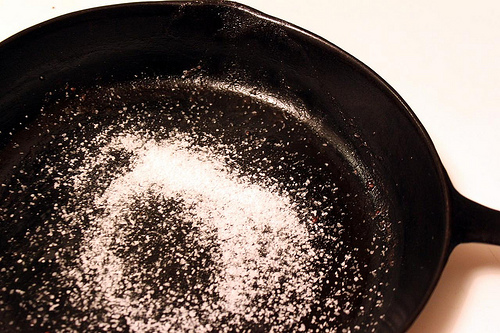 Use baking soda to remove and burned-on food residues, and NEVER wash a utensil made from cast iron in the dishwasher. Also, to prevent rust, it is good to always hand-dry carefully.
6. Ceramic Bathtubs
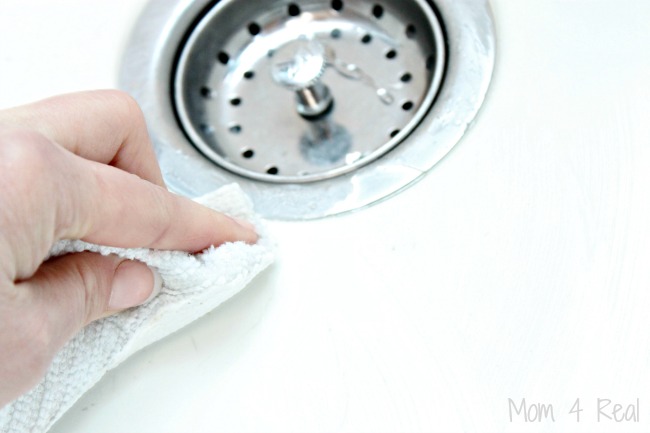 You need an abrasive liquid cleaner that you will apply to the surface and then rub gently to remove stains. Rinse well.
7. Chrome, Wrought Iron, and Stainless Steel
 First dust with your vacuum’s dusting tool or a clean, soft cloth. Soak a clean cloth in a water-mild detergent solution or water-baking soda solution (1 quart of water/4 tablespoons of baking soda). Or, you could use an all-purpose cleaner solution to get the job done equally efficiently.
Tip: If you want to add protection to wrought iron, consider using a clean cloth to apply a thin coat of liquid or paste wax.
8. Automatic Coffee Makers
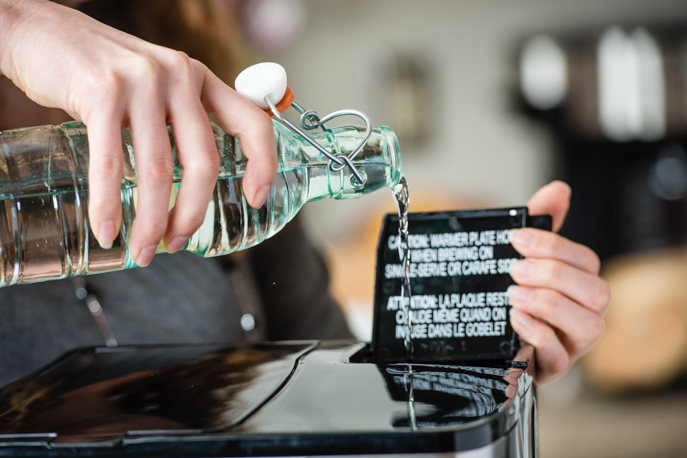 White vinegar does miracles in this case. Use either diluted or full-strength. To clean the drip coffee pot, fill the reservoir with water and vinegar and then run a brew cycle. Then, fill the coffee pot with clear water and run through a brew cycle again to get rid of any vinegar smell and residues.
NOTE: Want to get over with the chores quicker and have more free time for YOU? Sure! Check out our article of the Best Home Cleaning Hacks to Make your Life Easier!
9. Collectibles
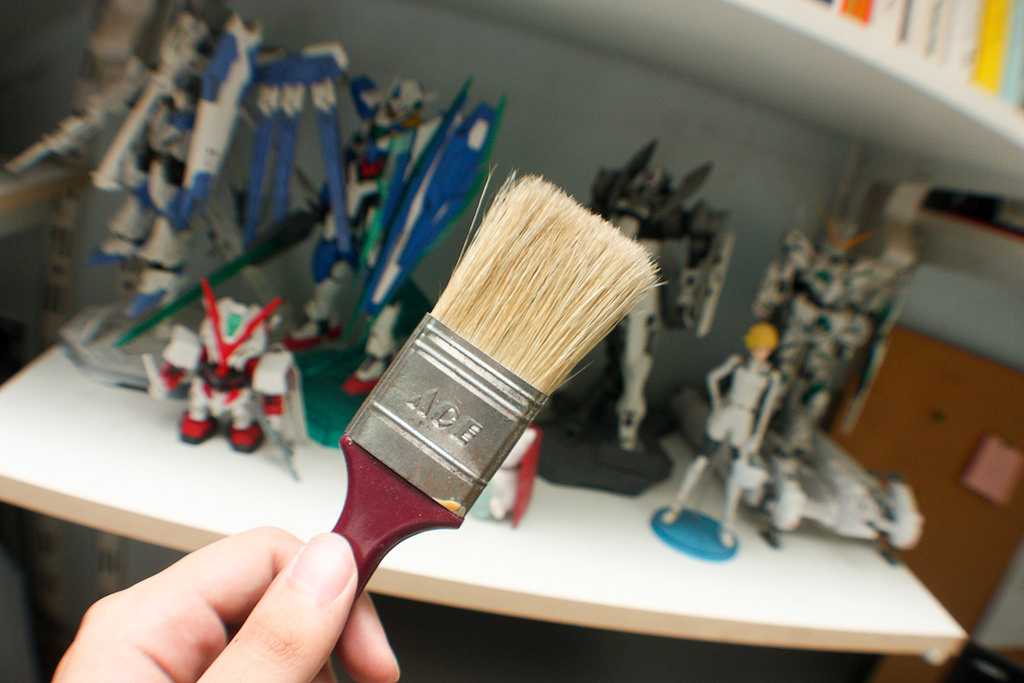 Now, it is time to remember your Arts & Crafts class. Use a dry paintbrush with bristles longer than 3 inches to clean the little cracks and crevices and surface. Once you are done with cleaning, always wash the paintbrush with warm water and hand soap and air dry completely.
10. Computers
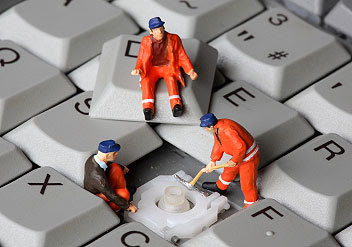 Just for your reference, computer screens and glass cleaners DO NOT go together. To use your monitor screen use an antistatic product specially made for that purpose. Also, to maintain the cleaning result as much as possible, keep static-free covers on the printer and computer when you are not using them.
11. Cooking Utensils
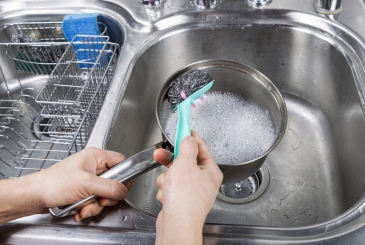 Wet the surface and apply an abrasive cleaner (powder). Rub gently until the stain and dirt is removed and rinse.
12. Cutting Boards
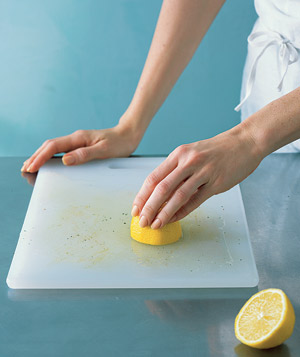 You have to be very careful when using a cutting board and always make sure you have disinfected it so it doesn’t hold any microbes that could affect our health and the health of the ones we love.
That said, to clean a cutting board you need chlorine bleach. Mix ¾ of a cup bleach to 1 gallon of water and rub the board. Of course, you could increase its strength and use more bleach per gallon of water. Alternatively, you can use lemon to do the same task. Just cut it in half and rub it across the entire surface.
13. Brushes, Combs, Fixtures, and Floors
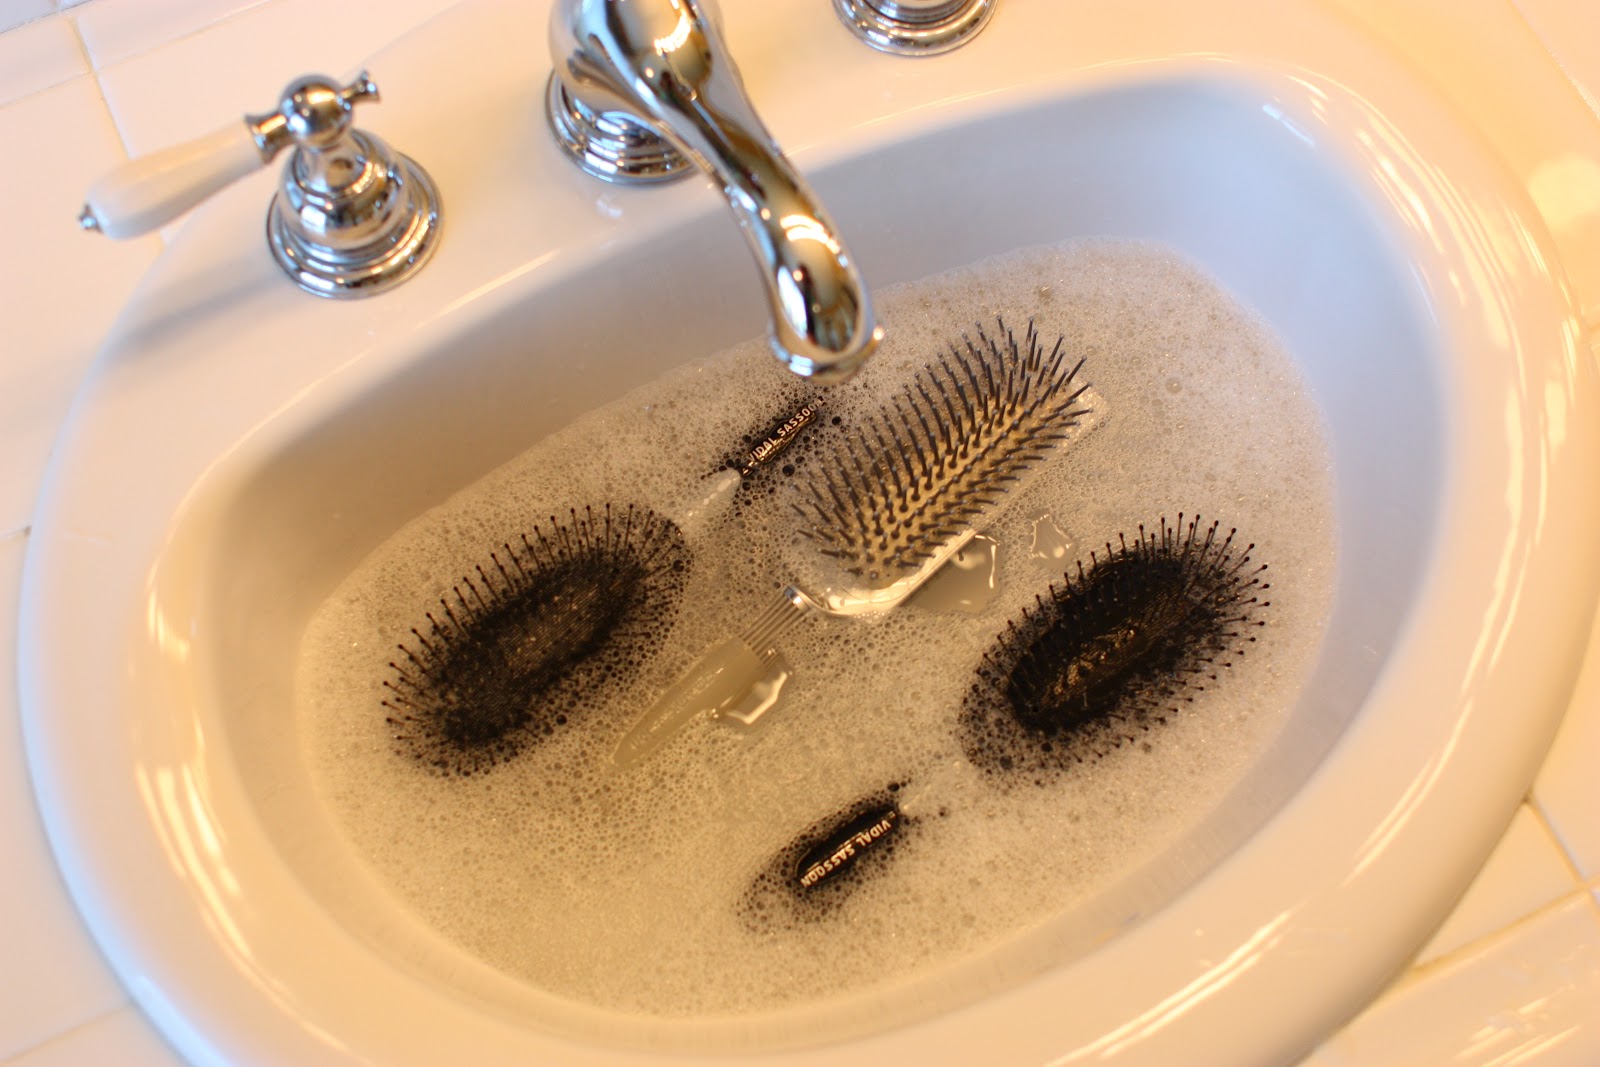 Once again, ammonia is a savior. Use a ½ cup of ammonia per gallon of water and increase up to 1 cup of ammonia if necessary (for stubborn stains). If you are going to use a spray bottle, then mix 1 part of ammonia to 16 parts of water. For mirrors and windows, use 2 tablespoons of ammonia per quart of water.
Notes: Ceramic, resilient, concrete surfaces can be easily cleaned with ammonia. However, do not use it on aluminum or plastic windows (or any plastic surface) because you may then have to deal with pitting and clouding. The same applies to brass fixtures as well.
14. Laminate Floors
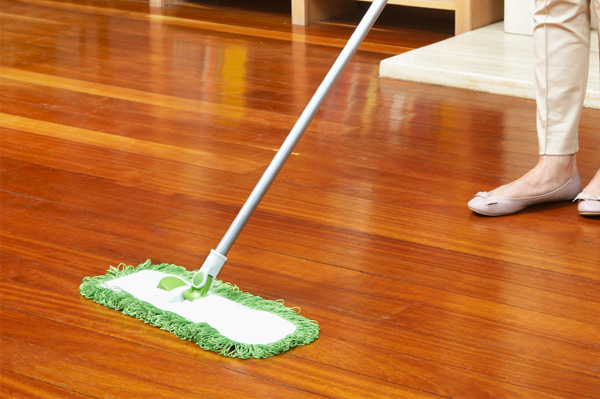 Remove grime and dirt by vacuuming regularly. When you need a more thorough cleaning, use warm water and damp-mop the floor. Be careful not to saturate the floor so do not wet the mop. Don’t wax or polish the laminate floor and also don’t use steel wool, abrasive cleaners, or scouring powders because you may get your floor scratched that way.
15. Lamps & Lampshades
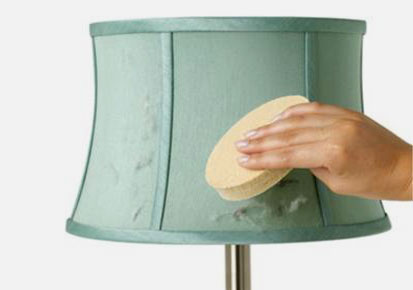 With a soft cloth, first dust the base of the lamp, then the shade and bulb. You may also use your vacuum cleaner’s dusting tool, depending on how fragile your item is. Then, with a damp cloth or sponge and the cleaning product manufactured for the particular material, clean the base.
Note: NEVER immerse the base in water. There is a risk of damaging the wiring.
For more cleaning hacks, tips, and advice to have your home bright clean, check out Part 2 of the Most Complete Cleaning Guide!