Following our Most Comprehensive Cleaning Guide (Part 1), here are even more hacks, tips, and advice to live in a home that is super clean at all times, with minimum effort!
How to Clean:
1. Leather
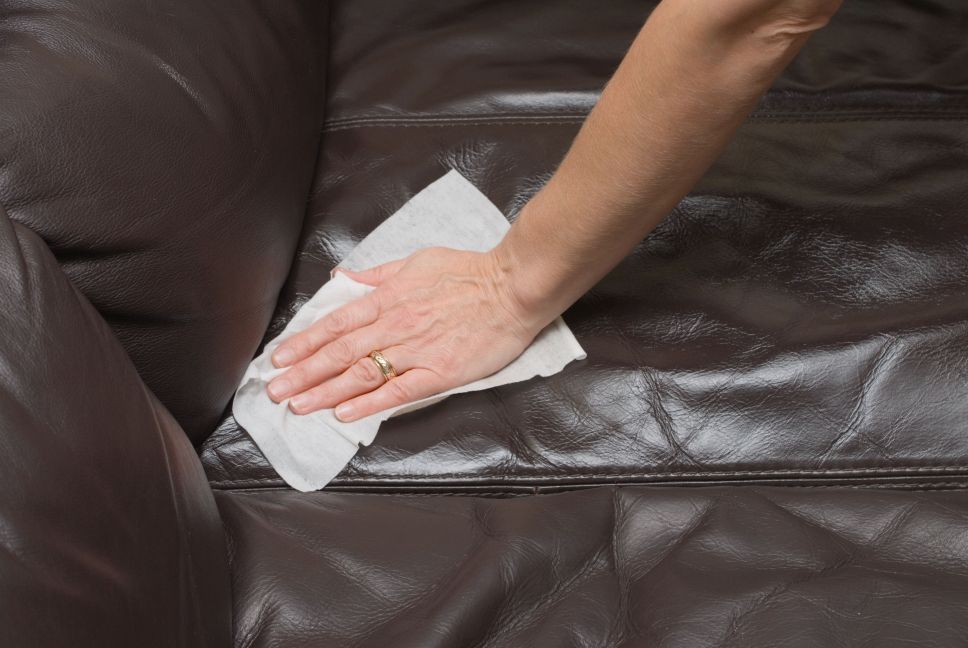 Here are the most important how-tos in a nutshell. First, dust with a clean, soft cloth and then use a soft bristled paintbrush or toothbrush (if the leather has piping or buttons and is tufted). Wipe with a clean, damp cloth (or sponge) and mild soap and rinse well with a cloth (well-wrung) or a sponge. Dry with another clean cloth.
2. Marble
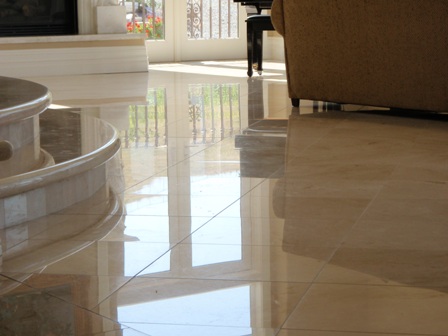 The most important thing when cleaning marble is to wipe up spills instantly. If they dry out, they will look ugly. That said, dust with a clean cloth and damp-dust occasionally with a cloth or sponge dampened in a neutral, non-abrasive cleaner to remove stains and dirt. Wipe the surface dry and apply marble polish to restore brilliance and shine (always follow manufacturer’s instructions).
3. A Microwave Oven
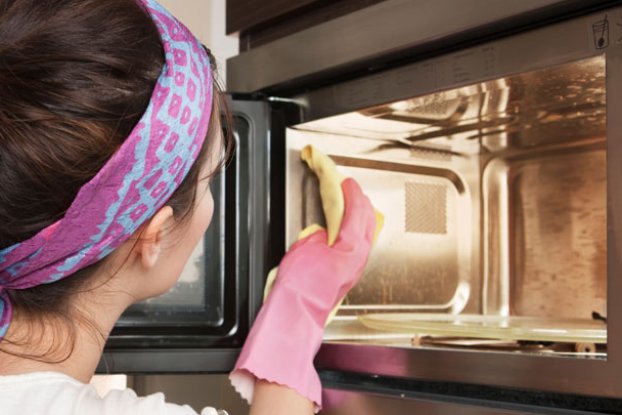 Getting ready for a Spring Cleaning Quest? Check the Ultimate Spring Cleaning checklist we have put together for you! If you are staring at a dirty microwave oven, clueless how to bring back its lost glory, first remove the turntable (if there is one), and wash it in sudsy water (warm) or the dishwasher.
For the interior, place a cup of boiling water inside it and leave for 3-4 minutes. You’ll be amazed how the food soil on the ceiling and the walls will quickly loosen by the condensation! Additionally, you can add a few drops of lemon for more freshness. Wipe with a damp cloth or sponge and then dry.
Note: Do NOT use a commercial over cleaner. Also, NEVER remove the cover for cleaning (the one on the top of the oven interior). If you want to deodorize, just make sure you wash the interior surfaces with a solution of ¼ cup of baking soda to 1 quart of water. Don’t forget to rinse and then dry.
4. Ovens
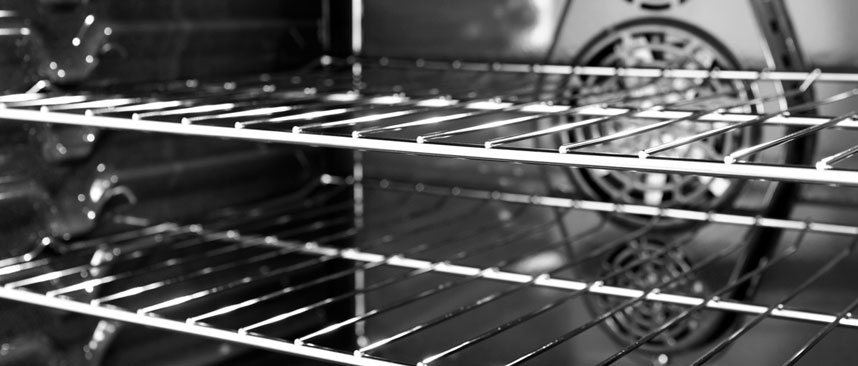 RACKS: Soak them in a solution of all-purpose cleaner and hot water. Make sure the cleaner contains ammonia. Add ½ cup of ammonia per 1 quart of hot water and remove stubborn stains with the help of soap-filled scouring pads.
BROILER PANS: It is important to clean after every use. Remove the grill and get rid of the grease. Remove in an old can and fill the pan with hot water and a few drops of dishwashing liquid. Replace it and let it stand for half an hour or so before you wash the grill in hot, soapy water. Rinse & dry.
SIDES & FRONT: Remove any control knobs or dials and wash them with an all-purpose cleaner or in hot, soapy water. Don’t forget the surface behind the knobs and dials. Rinse and dry carefully.
GLASS DOORS: Use a solution of 1 part water and 1 part vinegar or an ammonia-glass cleaner solution and saturate a paper towel or cloth in the solution. Wrung out and place it on the inside of the window. Leave the door open and let is there for about 30 minutes to loosen the soil. Rinse well with clean water and them dry with a lint-free cloth or paper towels.
Note: NEVER use an abrasive cleaner as it scratches the glass.
INTERIORS: Apply a commercial over cleaner always following the instructions of the manufacturer.
RANGE HOODS & FANS: Remove the wire mesh filters and soak them in the sink in a solution of all-purpose cleaner and water or just put them straight into the dishwasher. In the first case, rinse well and dry thoroughly, wipe the fan blades with a damp cloth (clean) and then replace the filter.
5. PAINTED WALLS, TILES, & PAINTED WOODWORK
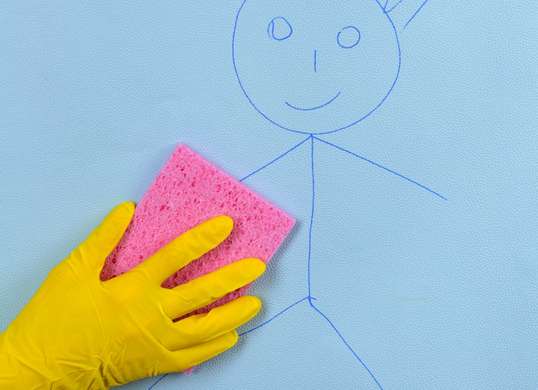 In a household with kids, such accidents are common. No need to get frustrated. All you need is all-purpose cleaners (non-abrasive) either liquid or powder. You can use the cleaner’s full-strength or mix it with water. No need to rinse, unless you used its full strength or on no-wax floors.
Alternatively, you can use ammonia (except on plastic surfaces & aluminum or brass fixtures). Start with a solution of ½ cup of ammonia per gallon of water and increase the ammonia to 1 cup per task difficulty. If you are using a spray bottle, then mix 1 part of ammonia per 16 parts of water.
Tip: You can also clean window shades (washable) and blinds that way, too!
6. PATIO BRICKS
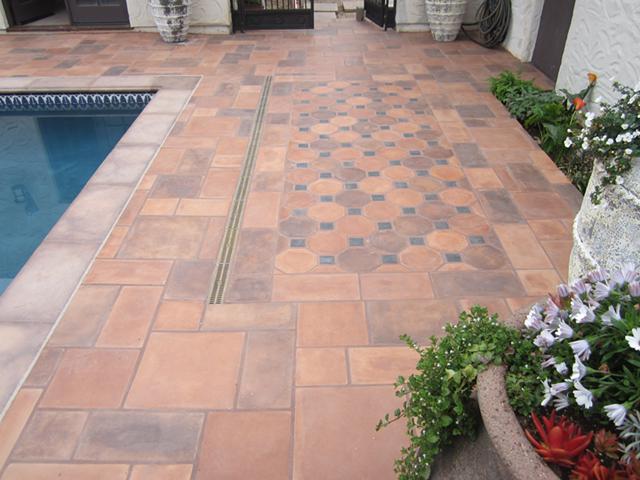 Chlorine bleach is the product you need for this case. Mix ¾ cups of bleach per gallon of water and rub the bricks with a paintbrush or a cloth. If required, increase the strength of chlorine.
7. UPHOLSTERY FABRICS
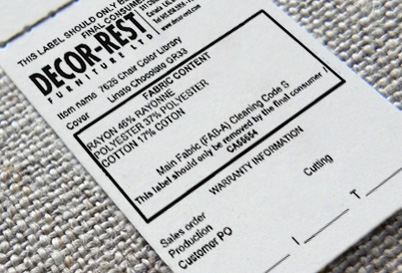 To clean upholstery fabrics, you have to find the code the furniture industry has developed for the particular upholstery fabric. It is usually put on sample fabric swatches or a piece of furniture.
W: This means that the fabric needs to be cleaned with a water-based product (i.e. non-solvent upholstery shampoo or foam from a mild detergent).
WS: you need a solvent-based or a non-solvent cleaning product.
S: Use only solvent-based cleaner to clean the fabric.
X: The fabric requires professional care (dry cleaning).
8. WICKER, BAMBOO, RATTAN, & CANE
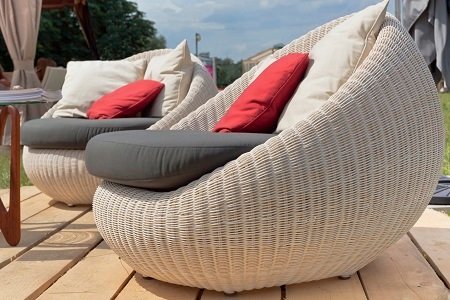 First use a brush to loosen the dirt and dust and vacuum. Sponge bamboo, rattan, and cane with a water-dishwashing detergent solution. Wicker needs a slightly different approach to clean. Wash gently with a soft-bristled toothbrush or paintbrush. Rinse the surface with a damp cloth or sponge and dry immediately to avoid water stains.
Tip: You can renew dark or natural wicker, cane, and rattan by applying furniture polish (just a light coat will do). However, it is best you don’t use it on pastel colors or white.
Extra Tips:
- To camouflage a scratch on wood, break the meat of a black walnut, Brazilian nut, or pecan in half and rub it in.
- To clean telephones, wipe the base or cradle and handset with a damp cloth and either rubbing alcohol (disinfects) or an all-purpose cleaner. In the latter case, make sure you wipe well to prevent water from dripping into the unit and ruin it.
- Have old vinyl and want to clean it? Dampen a sponge in a water-detergent solution, rinse, and gently wipe dry with a clean cloth.
Want some awesome tips to save money while cleaning? Check out this amazing article How to Save Money When Cleaning!
New to the household cleaning tasks? No problem! Here is a guide with the Top 5 Cleaning Products every Homeowner Should Have, to get you started!