With the birds already serenading and the flowers blooming, it’s about time our house sheds off the winter blues. Spring cleaning has become a tradition. It allows us to not only freshen up our homes, but also get a head start on the upcoming seasons! Here’s a complete checklist with seasonal cleaning chores per room, as well as the supplies and tools required, to get the job done and deep clean the areas that need some extra attention. Of course, there is no need to clean items that you have cleaned recently. Just focus on the stuff that has been neglected throughout the winter.
1. KITCHEN (Time Required: 1-2 hours)
Before you do anything else, devote 15 minutes to clearing out he dirty dishes and clutter. No need to clean the floors at this phase. It is the last task to do, anyway.
WALLS & CEILINGS
Dust down the corners of your walls, as well as the ceiling.
Decided whether the walls will need to be spot cleaned or thoroughly washed.
Focus on the things that people touch with their hands, such as doorknobs, switch plates, and doors.
If there is any spilled food on the walls (maybe your blender splashed goop?)
PHOTOGRAPHS & ART
With a microfiber cloth, dust down all photographs and art on the kitchen wall. You may need to wash some of them if they are too filthy.
With a slightly damp rag, wipe down. Be extra careful not to let any residues on the frame that could damage the photo.
CEILING FAN
Remove any light fixtures.
With a gentle cleanser (e.g. an oil soap), gently wash the fan.
Let it dry completely before replacing the light fixtures.
NOTE: Before you move on to the next step, take down curtains, draperies, and blinds so they are cleaned as per the manufacturer’s instructions. Then vacuum and clean the corners and window sills, and wash the windows both inside and out. Before you replace, rinse off screens.
OVEN & REFRIGERATOR

Apply oven cleaner to the oven. This will give you an overpowering smell so it’s best you leave the kitchen window(s) open. While the cleaner works, you can:
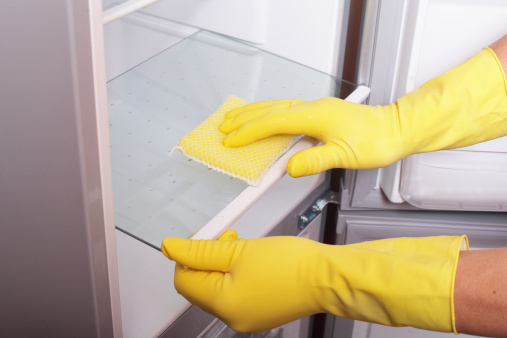
Unplug and clean your refrigerator. Vacuum the coils, inspect the cord for any damage and sweep underneath it if you have someone to help you move it (careful not to scratch the floor).
Sort through the refrigerator and freezer. Throw out empty containers, expired food, and everything you have never used.
Place the items you will keep on the counter and take the drawers and shelves out.
Wash them down carefully and wipe down completely dry before replacing them inside the freezer & refrigerator.
Take the burners, knobs, spill catchers and burner covers off of the oven and clean according to their owner’s manual.
Wipe down the oven and clean the small appliances, such as the blender and toaster.
NOTE: If you have a microwave, wipe it down and clean it. For fossilized spills, place a glass container with water in the microwave and bring to boil. The steam released will help loosen the grime. If you want, you can add some lemon juice; it should leave your microwave smelling fresh. Clean the turntable as well.
KITCHEN CABINETS, DISHWASHER & SINK
Clean your cabinets and reline if required.
Anything you don’t regularly use , just take it out and get rid of mismatched bowls and lids.
Wash down the cabinets, inside out and reorganize.
Add vinegar to your dishwasher (empty) and run it.
Clean the food trap (if your model has one).
Wash down the outside of the dishwasher, the counter-tops, and the backslashes.
Clean out the drawers and organize your flatware (maybe install dividers?).
Wash down the sink and pour a mixture of warm water and baking soda or lemon peel down your garbage disposal (if you have any). You can also sharpen the blades by putting ice cubes through the disposal.
Finally, sweep and mop the floors thoroughly.
Tips: Always gather your supplies together prior throwing yourself into the cleaning race. Also, creating an enjoyable atmosphere (for example by listening to your favorite music) will allow the time pass quickly.
2. BATHROOM (Time Required: 1 hour)
Before you do anything else, make sure you prepare your bathroom for a good cleanup. This involves the following tasks that will make spring cleaning easier.
Get your supplies beforehand.
Put all the dirty clothing inside a hamper.
Wipe down the tub and sink area with a disinfectant wipe and toss all the trash into the trash can.
Briefly scrub out the inside of your toilet with a toilet cleaner and toilet brush and wipe down with a disinfectant wipe.
Wipe down the mirror with vinegar or glass cleaner.
Anything that doesn’t belong to the bathroom should be returned to their original places.
Briefly sweep the floor with Swiffer or anything similar (just the main traffic area).
Now, it’s time for some serious cleaning!
Dust down the corners and the ceiling, wash the walls if required or spot clean them.
Dust and clean art, fans, and vents, with a gentle cleaner. Wash the light fixtures, dry, and replace them.
Scrub the tub and shower, also minding the fixtures.
Launder the shower curtain and replace its liner.
Clean the shower door and use cleaner to dissolve the soap scum buildup.
NOTE: Do not use acidic cleaners, such as vinegar and lemon on tile grout as they will eat it away.
Scrub down the toilet, handle, and crevices (underneath and on the outside).
Wash the linen cabinets, medicine cabinet(s), etc. (both inside and out).
Wash down the sink (don’t forget the fixtures).
With cotton swabs, clean the mirror(s) and all the tight spots on them and the sink.
Shake out, launder, and hand the bathroom rug(s) to dry.
Sweep and mop the floor.
3. LIVING AREAS (Time Required: 1 hour)
Follow all the steps as in the other 2 rooms (dust down ceiling, corners, clean the walls, ceiling fan and take down draperies). Then:
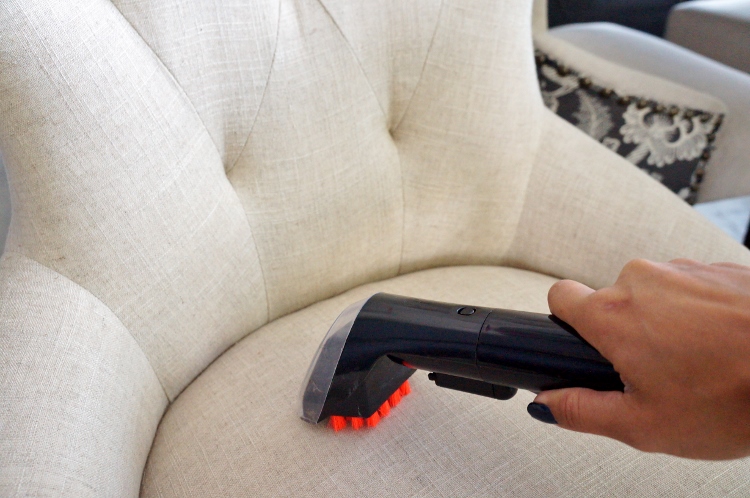
Dust the couches and chairs with the attachment of your vacuum cleaner (perfect for crevices).
Clean accent pillows, slipcovers, cushions, etc. If there is grime on the couches and chairs, you can use a rug shampoo machine (always test in a hidden area before proceeding with the cleaning process).
Dust down and clean all knickknacks and accent lamps, lampshades, and all decorative items, using the duster or a vacuum attachment.
Remove the books from the shelves and dust them down (bookshelves included). Organize nicely before replacing the books.
Dust down the entertainment centre and the accent table(s), as well as the electronics (make sure they are unplugged first). Check the cords for wear and fraying and dust down the TV screen.
Clean the rugs & carpets. For heavily soiled carpets, you might want to call a professional or rent a cleaning machine (make sure you also get an upholstery attachment). Otherwise, spot cleaning will do.
Clean the doormats (both outside your doorways and inside). Wipe them down, or dust them off (whatever you feel necessary so the dirt from the mat is not transferred to the inside of the house.
4. BEDROOM (Time Required: 1-2 hours)
Again, dust down ceiling, corners, clean walls, ceiling fan, and take down draperies. Then…
Wash all mattress pads, bedding, pillows, comforters, etc.
Vacuum your mattress and flip it over.
Clean underneath the bed and replace the bed with clean bedding.
Dust down all knickknacks, lamp shade, decorative items, and accent lamps with the vacuum attachment (a duster will also do). Clean thoroughly.
Dust down chests, dressers, nightstands, and clean the mirror(s). You may want to use cotton swabs to clean tight areas.
Mop the floor and spot clean the carpet (if too heavy, consider asking a pro to clean it).
Tips: Decluttering should not be a job done in the middle of your spring cleaning chores. Either save them for last or begin with the closets or you might get distracted, eventually ending up doing absolutely nothing.
5. DINING ROOM (Time Required: 1 hour)
Start by dusting down the corners and ceiling, and move on to washing or spot cleaning the walls (you decide) and ceiling fans (and blades). Don’t forget switch plates and air vents! Then…
Dust the wall art and clean thoroughly with a gentle cleanser, minding the frames (if any). Don’t spray directly onto the frame as you may damage the pictures. Use a slightly wet cloth and with the glass and frame instead.
Take down the light fixtures and wash them carefully. Make sure they are completely dry when you replace them.
Take down your curtains and draperies and have them cleaned as per their directions. Don’t forget to dust the window treatments and blinds.
Dust and wash the windows (inside and out), window sills, and corners, and rinse off screens.
Wash down the furniture carefully and thoroughly. For wood furniture, it’s best to have them waxed or oiled and this is the best time to do that. Also, spot clean the upholstered seats (if any).
Clean the rugs and carpets. For too heavily soiled ones, better call a professional or rent a cleaning machine; else, spot-clean and vacuum.
Tip: As you can see, the dining room is probably the easiest room to clean, given that the majority of modern homes have eat-in kitchens. So, you could schedule to clean this room at a time you don’t have much time available. Alternatively, you could pair it with another room/task.
USEFUL NOTES:
Get rid of all unnecessary clutter. Maybe plan a garage sale, donate items, or box up the things you don’t use or want. Everything that is weighing you down should be disposed of. That way, you can start fresh! When all the clutter is gone, cleaning will be oh-so-much-easier!
A great idea is to have everybody in the family involved. For example, you can allow your little ones to organize their stuff, pick up their toys and dirty clothes from the floor and put them in their right place!
Enjoy Spring Cleaning!


